
Garage Door Opener Safety Reversal: The Two Tests Every Door Must Pass
Every garage door opener built in the last three decades carries two separate safety systems, and each one catches a different kind of accident. Most homeowners have never tested either. This guide explains what contact reversal and photo-eye beams actually do, how to check both in about ten minutes with a scrap board and a broom handle, and how to read the result when a test fails.
Request Service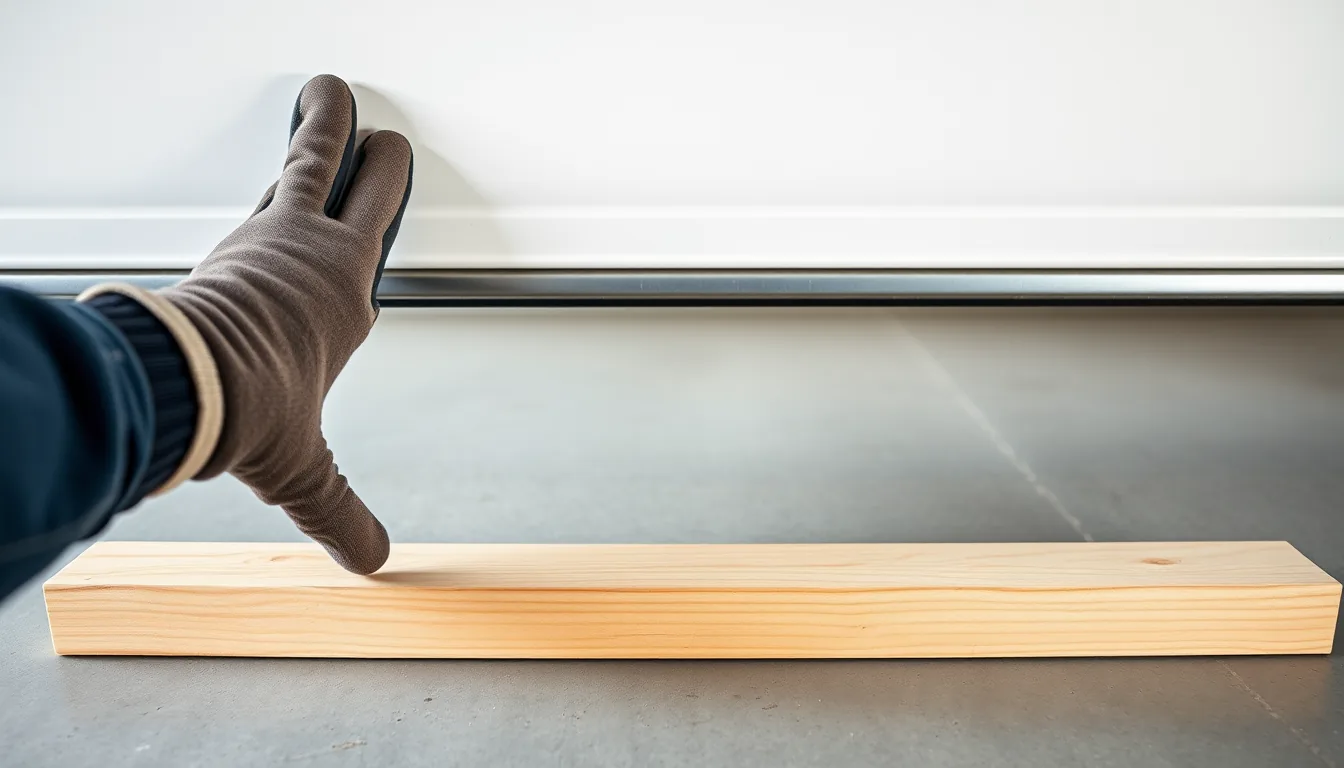
Two Safety Systems, Two Different Jobs
The first system is contact reversal. When a closing door meets resistance, the opener must stop and reverse direction within 2 seconds of contact. This requirement comes from UL 325, the safety standard that governs garage door operators.
The second system is the photo-eye beam. A federal rule that took effect on January 1, 1993 (16 CFR Part 1211, which builds on UL 325) requires residential openers to include a secondary entrapment protection system, and photoelectric sensors became the standard answer: two small units mounted no more than 6 inches above the floor, one projecting an invisible infrared beam across the opening and one receiving it. Break the beam while the door is closing and the door reverses before it touches anything.
The two systems back each other up. The beam sits low, so it misses obstructions above roughly ankle height. Contact reversal is the last line of defense for anything the beam passes over, which is exactly why both need to work.
The 2x4 Contact Test, Step by Step
You need a 2x4 laid flat, which stands about 1.5 inches tall: enough for the opener to register, low enough to be a fair test. Never substitute a hand or a foot; the board exists so nothing living is under the door.
- Open the door fully and lay the board flat on the floor in the center of the opening, directly under the door's path.
- Press the wall button to close the door, then step well clear.
- Watch the moment of contact. The door should press the board, stop, and reverse to fully open within 2 seconds.
A pass is crisp: touch, hesitate, climb. A fail looks like the door stalling on the board, grinding while the motor keeps running, or pressing down as if the board were not there. If it fails, stop using the door around children and pets, and note exactly what it did — stalled, pushed, or reversed slowly — because that detail changes the diagnosis.
The Beam-Interruption Test, Step by Step
Inspect the sensors before you test them. Each unit has an indicator LED. On most brands, a steady light on both units means the beam is aligned, while a blinking or dark LED points to misalignment, wiring, or power trouble before you have run anything.
- Start the door closing with the wall button, then swing a broom handle through the opening, well below the descending door.
- The door should reverse immediately, before touching anything.
- Run a second check: block the beam first, then try to close the door with the remote. The opener should refuse, and on most models its light will flash.
One behavior surprises people: with the beam blocked, many openers will still close if you press and hold the wall button the entire way down. That constant-pressure override is by design — the standard assumes a person holding the button can see the opening — so do not read it as a failure.
Reading a Failed Test
Beam failures sort by what the LEDs say. A blinking light on one unit usually means its bracket was knocked out of square; a car bumper or a stray ball is often the culprit. Both LEDs dark points to wiring or power. Steady lights with no reversal is rarer and points at the opener's logic board. Two beam problems are safe to handle yourself: wipe film and cobwebs off the lenses with a soft, dry cloth, and gently square up a bent bracket until the LED goes steady. Direct sun can also blind a receiving eye at certain hours, so note the time of day an intermittent failure happens.
A failed contact test is a different animal. The usual causes are a down-force setting turned too high, a worn travel limit, or a door binding in its tracks so the opener has learned to push through resistance. That last one matters: the opener will push through a person the same way it pushes through the bind.
Why Force Settings Are Technician Work
Every opener head has force adjustment dials or screws, and turning up the down force will indeed stop nuisance reversals. Do not do it. Raising the force teaches the opener to push through obstructions, which defeats the exact protection the contact test measures.
There is a second reason this is technician work: correct force settings start with door balance. A technician will typically disconnect the opener and lift the door by hand first, because a door with tired springs drags on the opener, and cranking up the force to compensate hides the real defect while the motor strains. Repair needs vary by door and hardware, so if either test failed, describe the exact symptom — which test, what the door did, what the LEDs showed — and submit a service request through the form on our contact page. That detail shortens the diagnosis.
Frequently Asked Questions
My opener has no photo-eye sensors anywhere. Did someone remove them?
Check the opener's age first. Units manufactured before January 1, 1993 predate the federal requirement and never shipped with sensors — nothing was removed, but the door has no beam protection at all. If the opener is newer, the sensors may have been bypassed, sometimes with a jumper wire at the motor head, and that is worth flagging. Either way, a technician can assess it; describe what you found when you submit your service request.
Can I turn up the force dial myself so the door stops reversing on its own?
No — leave the force dials alone. Phantom reversals are the opener reporting that it met resistance somewhere in the door's travel: binding rollers, a dry track, or tired springs. Raising the force does not remove that resistance; it teaches the opener to push through it, and the 2x4 contact test in this guide will start failing. A technician can find the actual source of drag and set the force correctly afterward.